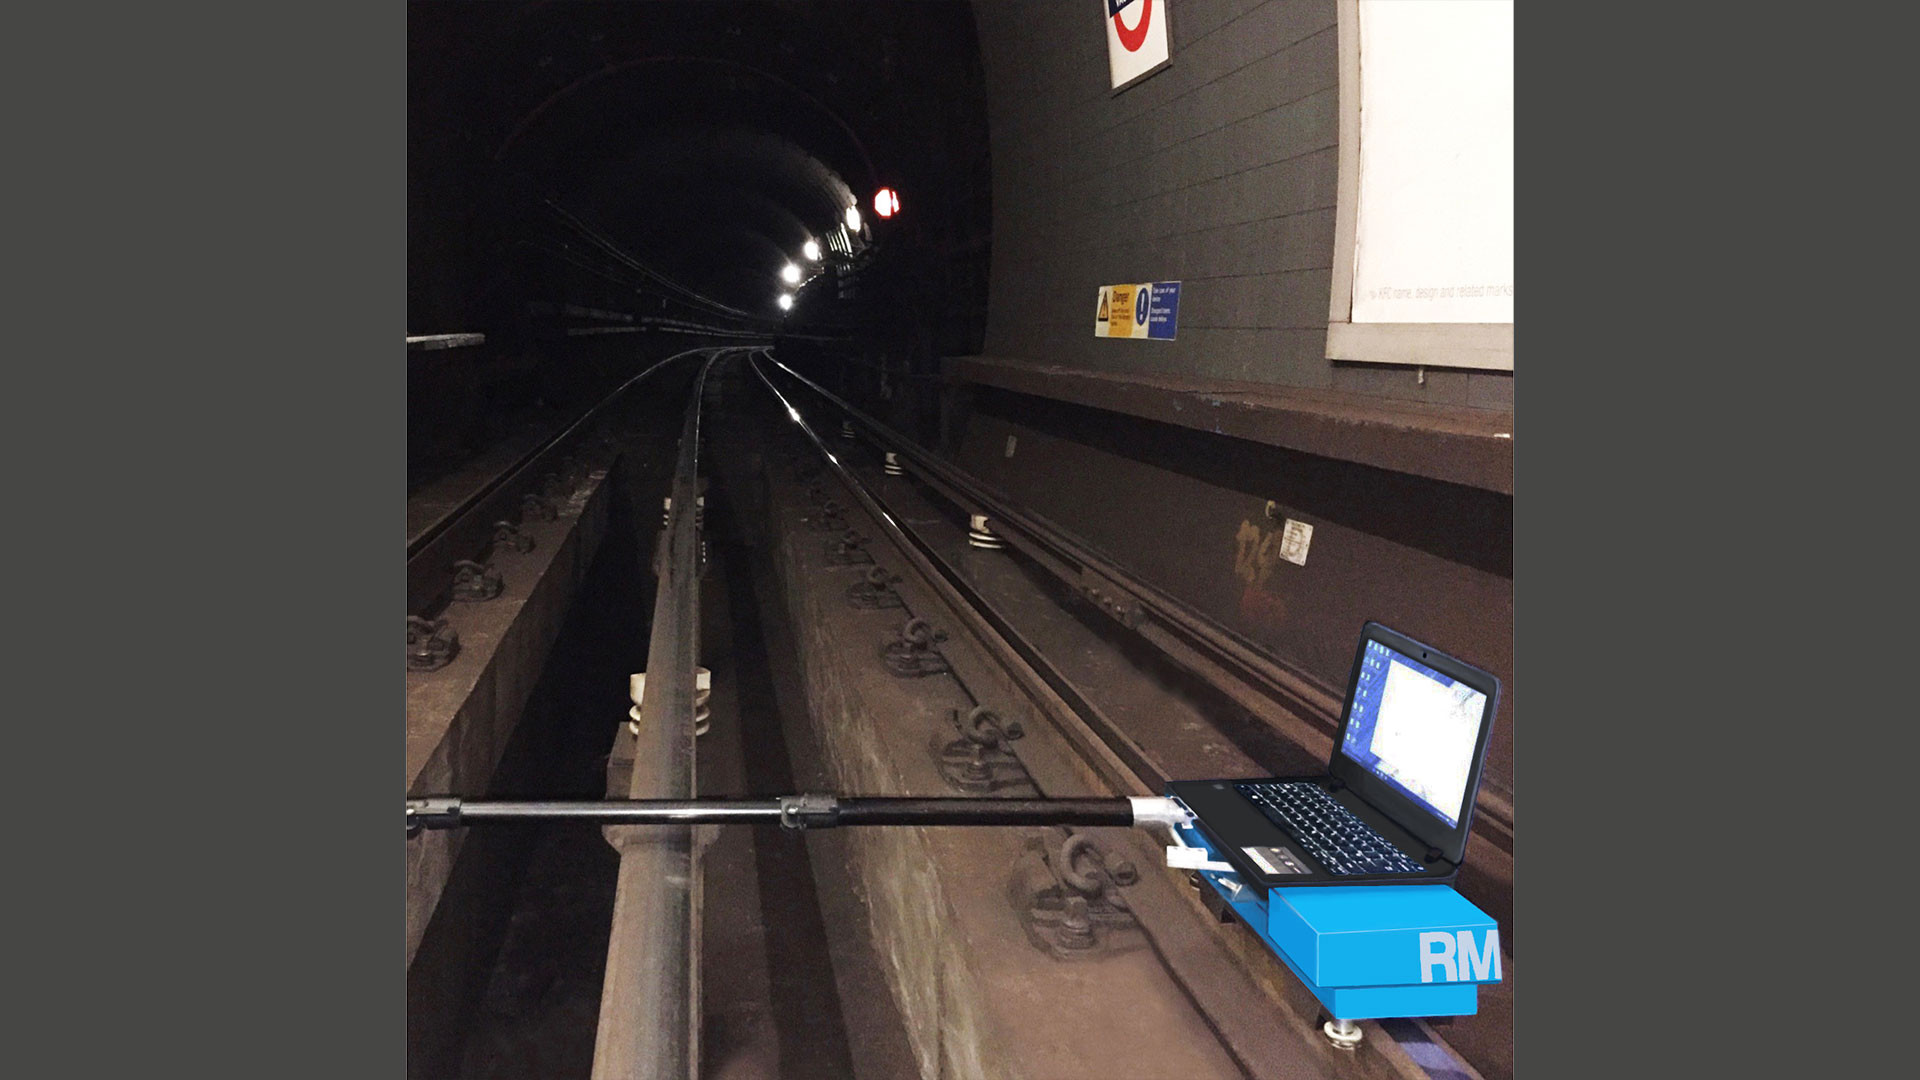
CAT/BiCAT Corrugation Analysis Trolley
Rail corrugation and acoustic roughness measuring trolley for tracks and switches, Suitable for vignola and grooved rails

Product description:
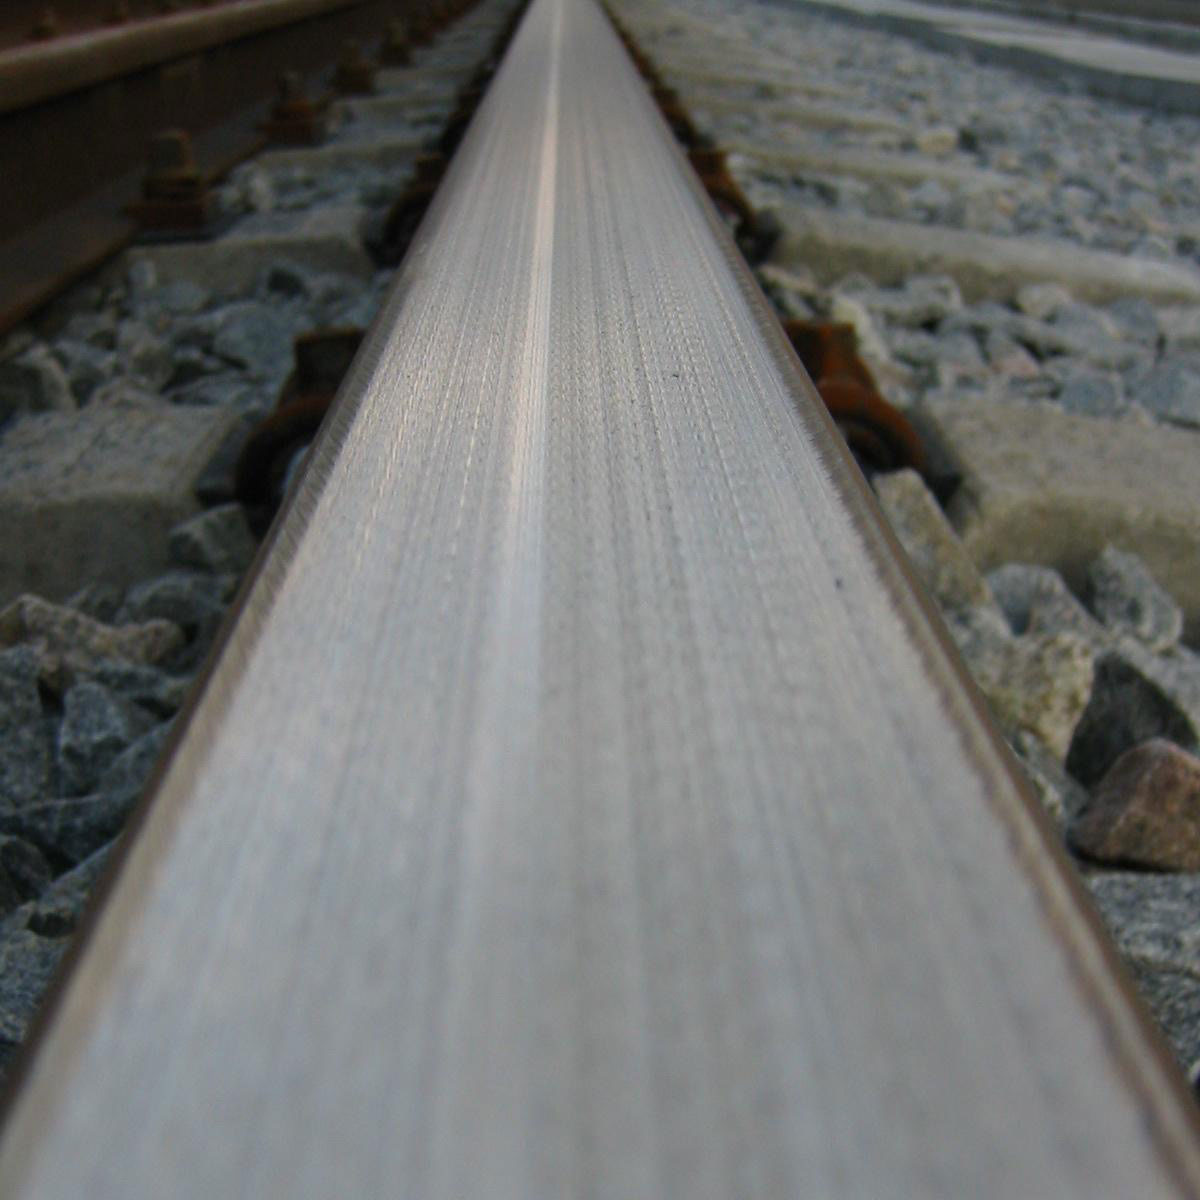
Rail surface irregularities of the order of microns (0.001mm) in amplitude are important in the generation of wheel/rail rolling noise and vibrations. The CAT (single rail) and BiCAT (dual rail) portable measuring trolleys are easy to carry and set-up and are suitable for obtaining continuous
longitudinal measurements of irregularities on the rail surface.
CAT/BiCAT
ttApplications:
- Monitoring of rail quality
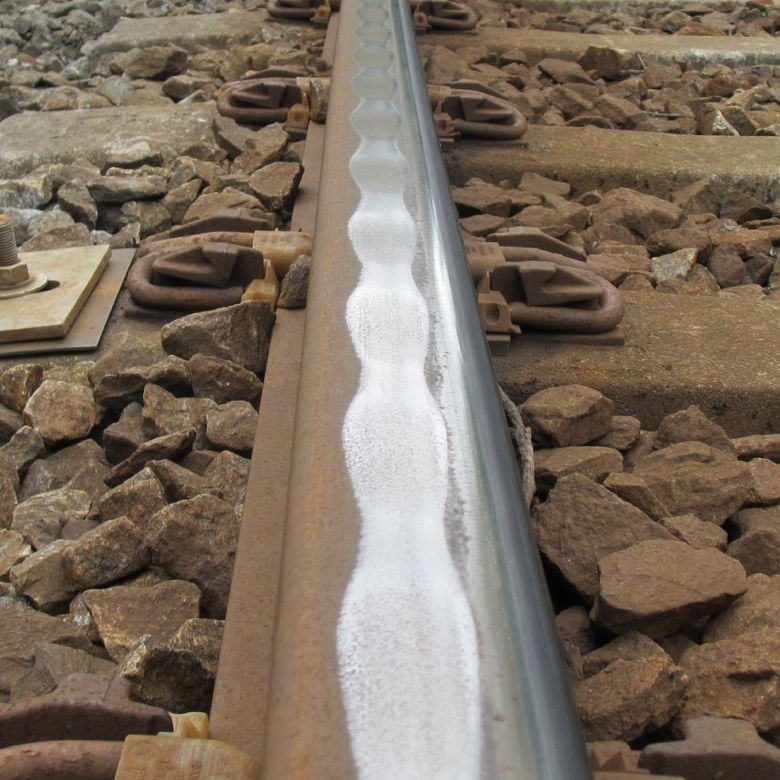
- Detection of corrugation and acoustic roughness
- Detection and classification of both short and long wave
- Assessment of mobile rail treatment results e.g. rail grinding and milling
Main characteristics:
- Measurements that are highly accurate and repeatable
- Relatively simple installation and setup
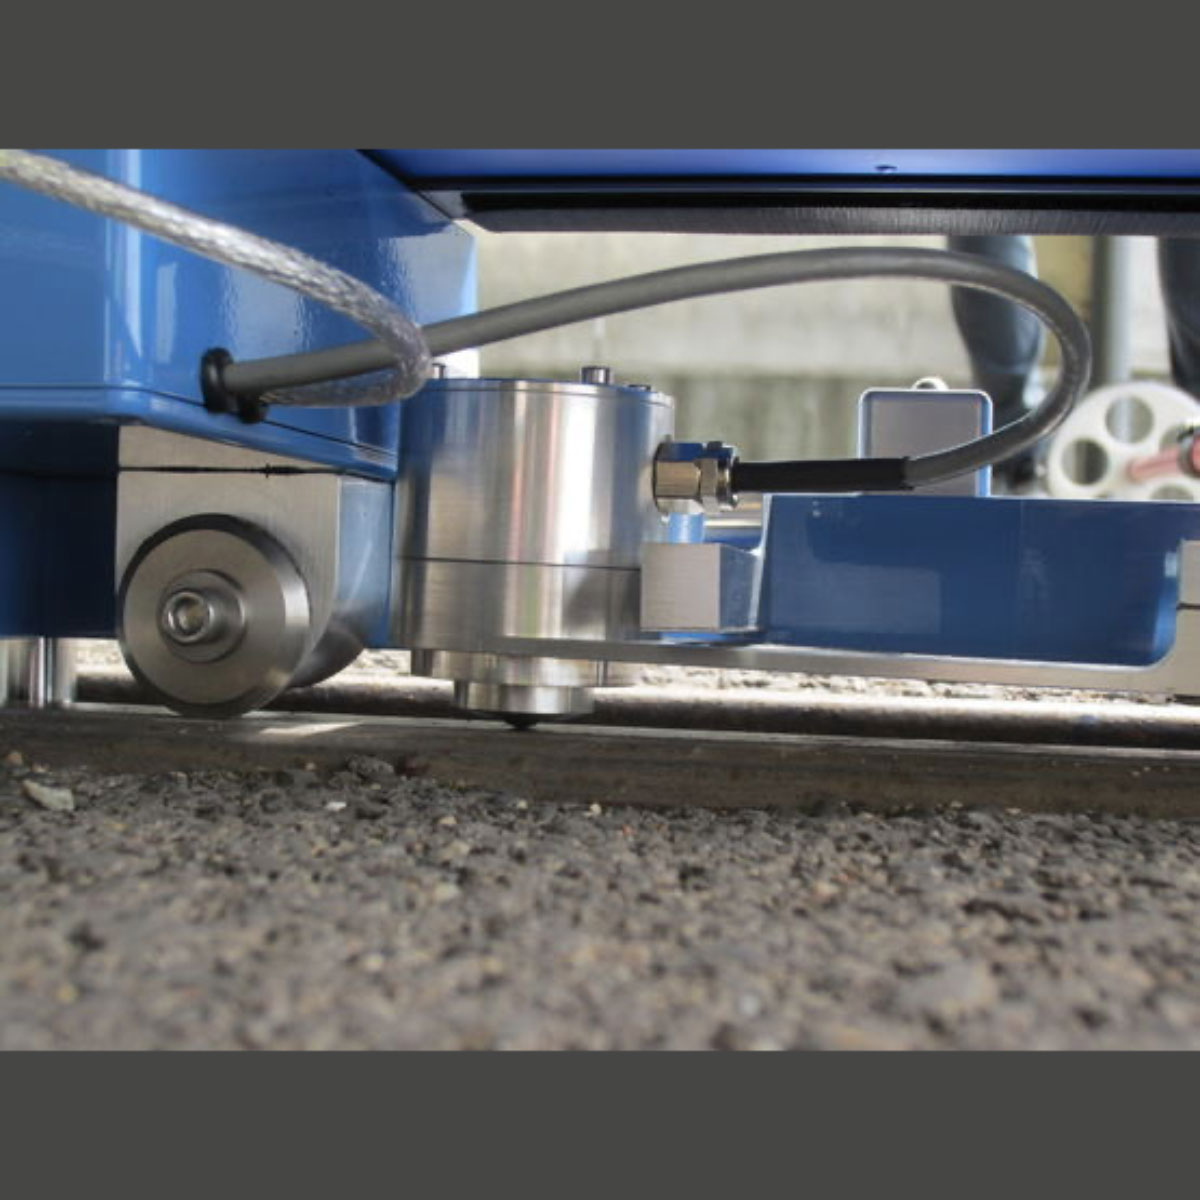
- Contact measurement system using inertial sensors
- Suitable for any track gauge
- User-friendly software for acquisition and review of measurement data
- Operation through notebook or tablet-pc
- Robust yet light weight design
- Extensive product support
TECHNICAL DATA CAT/BiCAT
| Interval at which data are saved | 1 or 2 mm | |
| Measuring speed | 3-4 kph | Walking speed |
| Precision of measurements | 0.01 µm (0.00001 mm) | Displacement |
| Accuracy | 0.2µm RMS 10-30mm 0.5µm RMS 30-100mm 2µm RMS 100-300mm | |
| Data storage requirements | ~2MB per KM of rail | |
| Output compatibility | EN 13231-2 2020 and equivalents EN ISO 3095:2013 EN 15610 | |
| Output | Raw and filtered displacements, moving average amplitudes, percentage exceedances, one third octave spectra | |
| Wavelength filters | 10 - 30, 30 - 100, 100 - 300, 300 - 1000, 1000 - 3000, 30 - 300, 300 - 3000mm | |
| Weight | CAT: 18kg in carrying case BiCAT: 23kg in carrying case |
TECHNOLOGY FROM THE LEADERS IN RAIL MEASUREMENT SYSTEMS

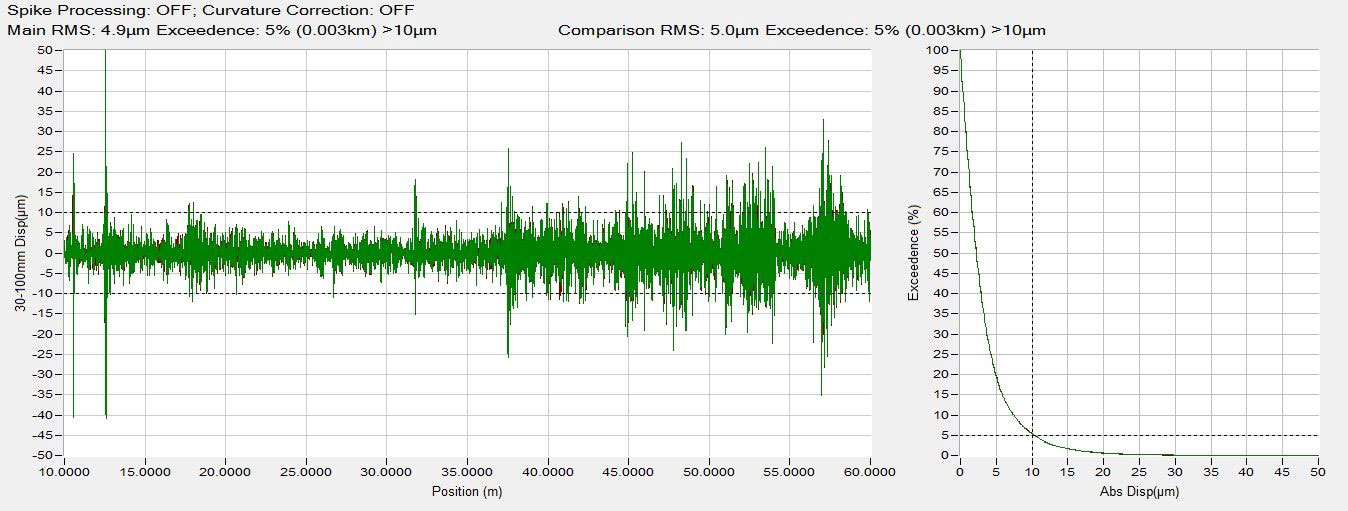
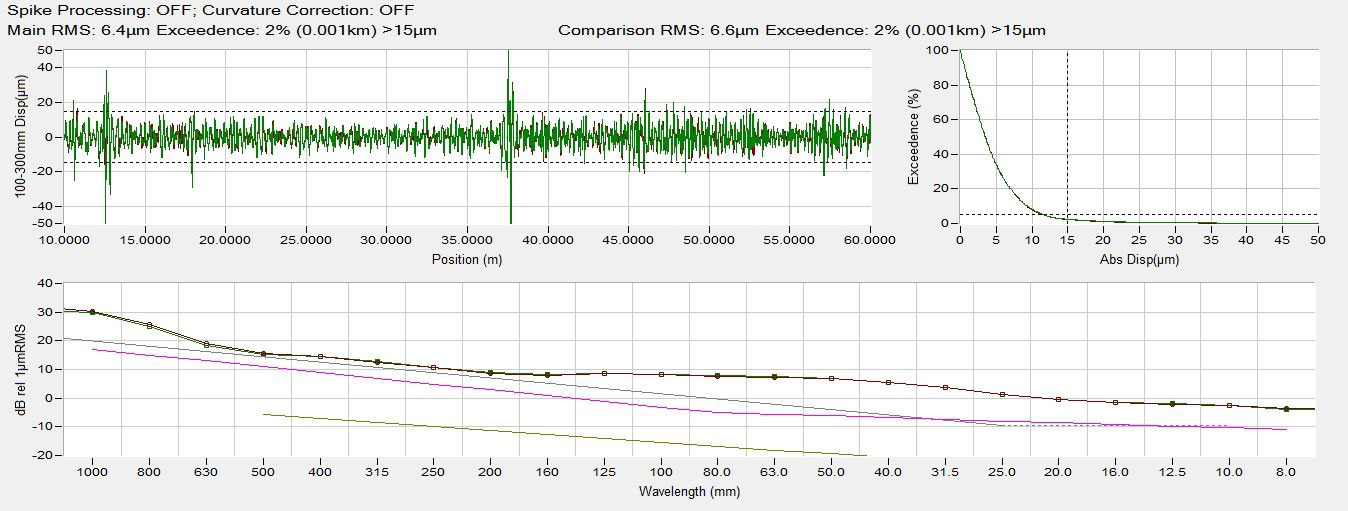
The CAT and BiCAT trolleys are exceptionally repeatable. Consecutive measurements of 50 meters of rail are shown here. Amplitudes differ from one run to the next by no more than 0.1-0.2 microns
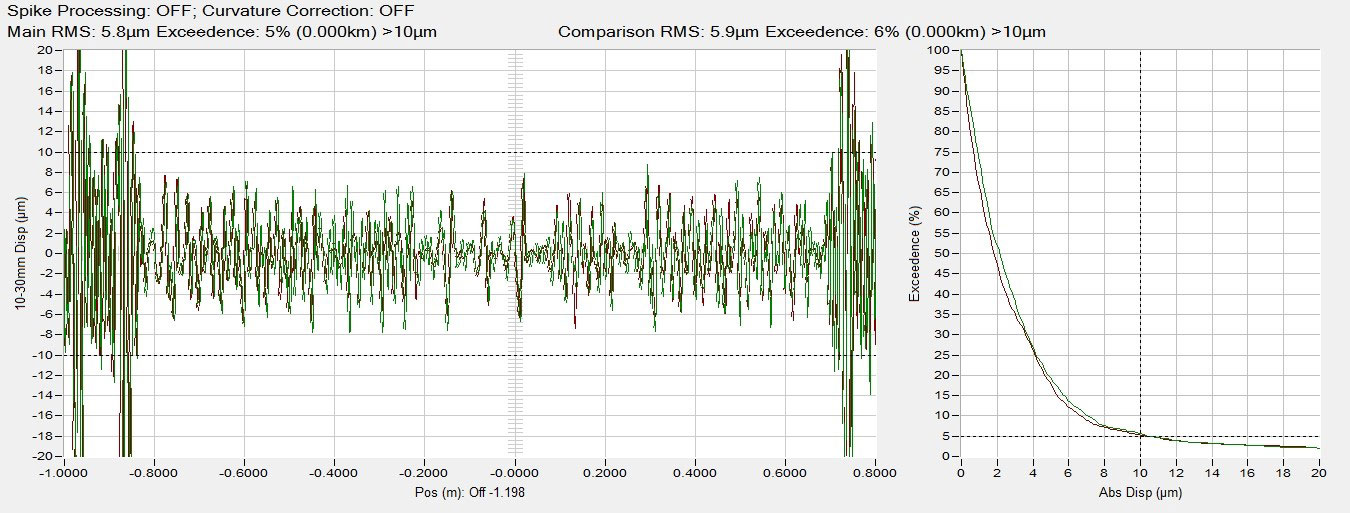
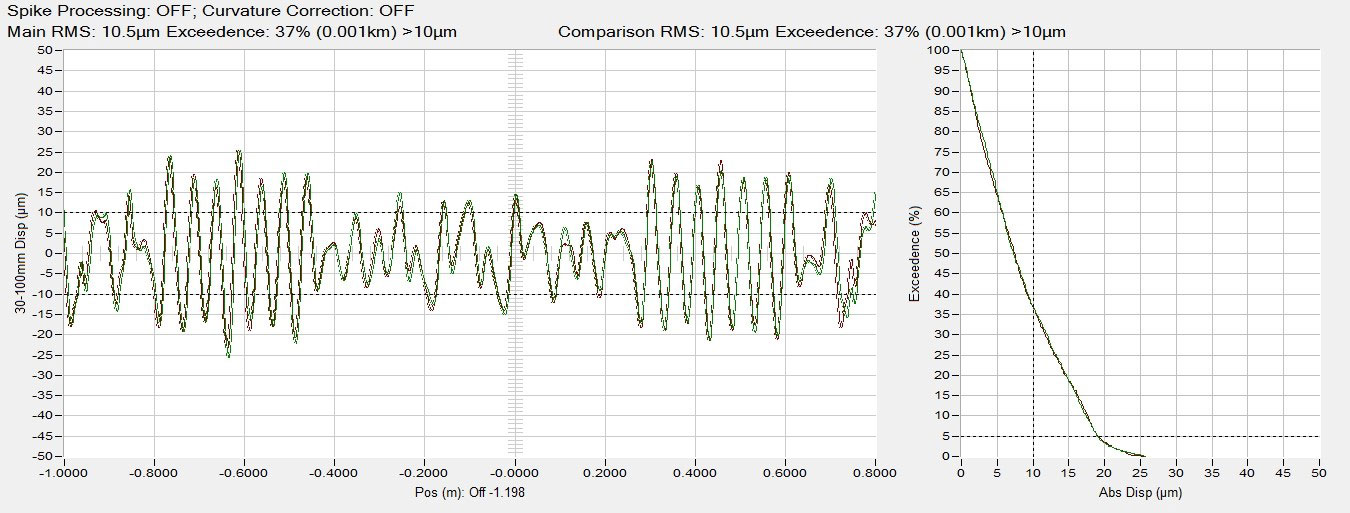
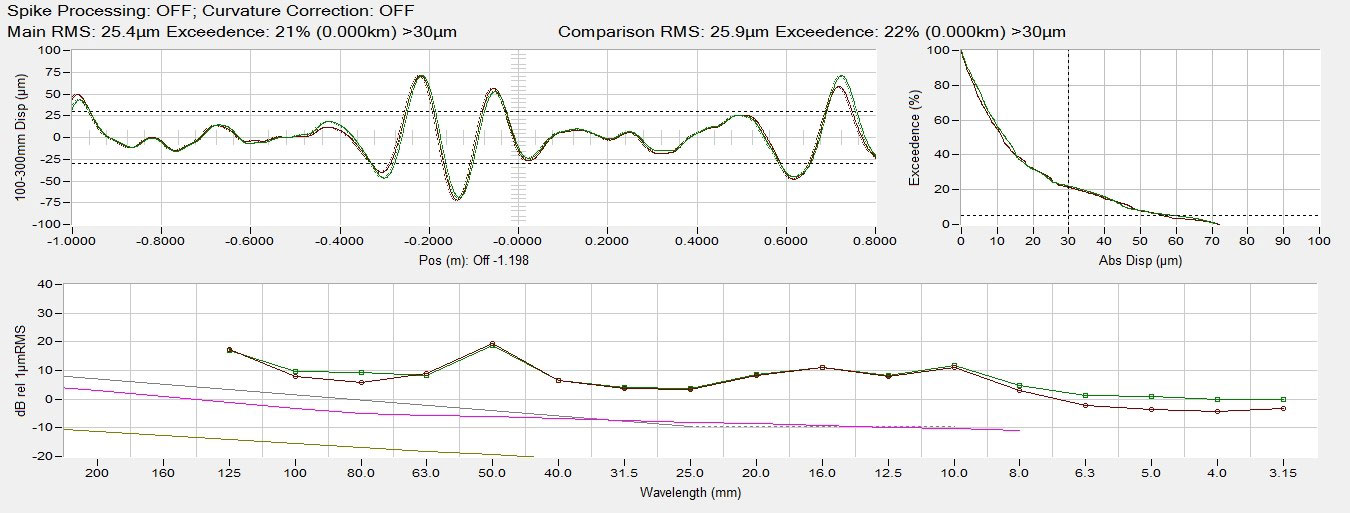
Typical calibration curves: CAT and CMM measurements of a 1.8m section of a calibration beam.
For Info:
enquiries@railmeasurement.com

